Guide for Painting Ceramic Tile Floors
Do you have ceramic tile floors installed in your home? Do they constantly look dirty? Years ago, there was a trend for installing brownish/orange ceramic tiles in entryways and kitchens, giving off a Spanish style feel which often didn’t match the architecture of the rest of the home. These ceramic floor tiles are still being seen in their original state in older homes throughout Carrollton. If your home has fallen victim to these awful orange tile floors – or ceramic tiles of another color – a simple coat of paint can give the tiles and your home a clean, fresh and updated feel.
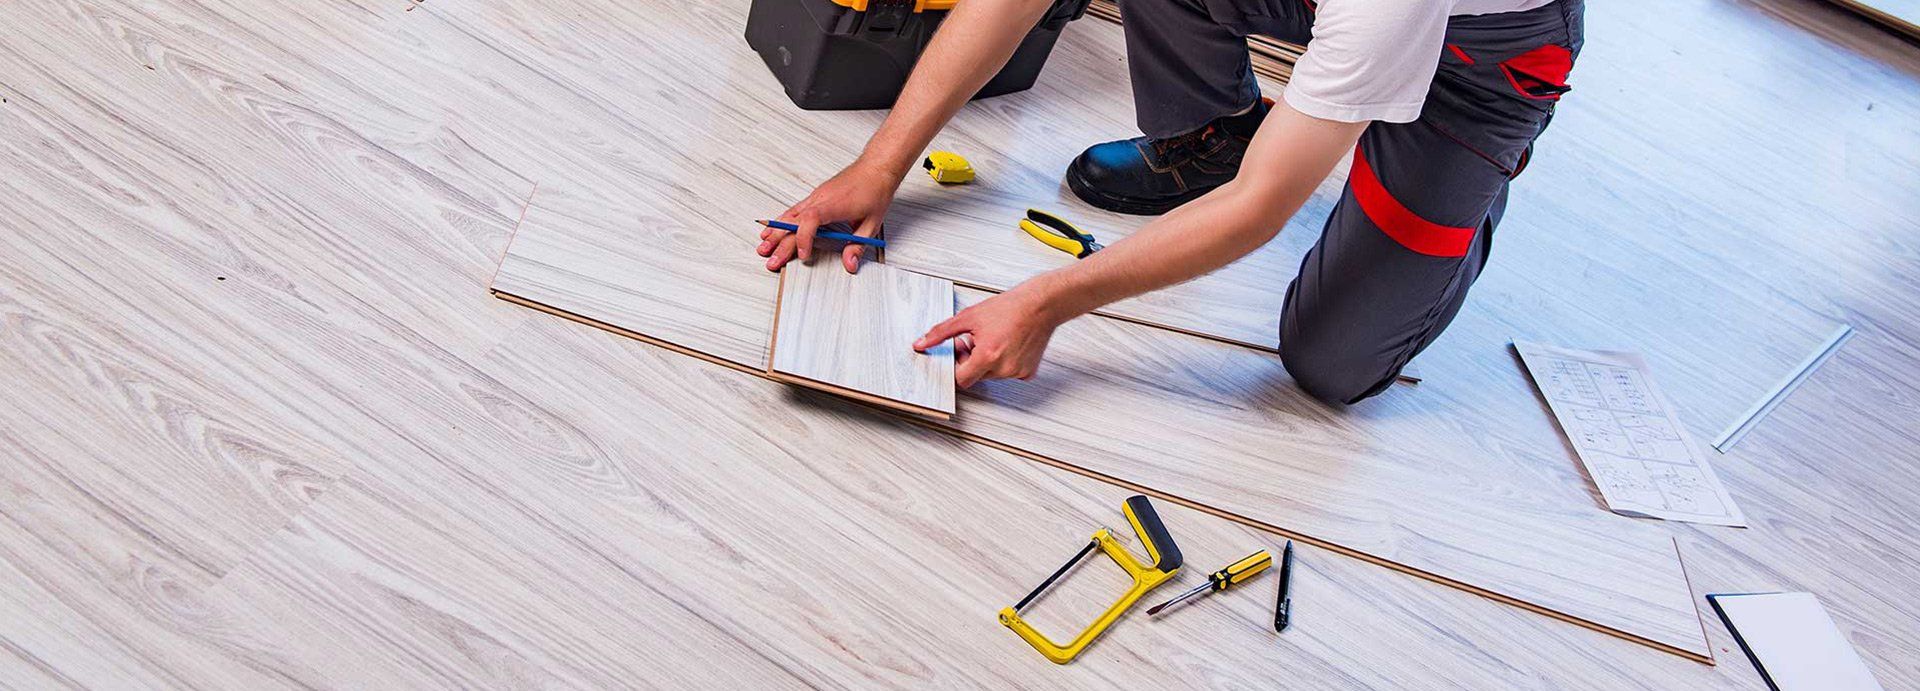
Painting ceramic tile floors in Carrollton is a great option for homeowners who are on a budget and are thinking about installing new floors sometime in the future. These homeowners are often looking for a quick and affordable fix that can stand up to a normal level of wear and tear. If this sounds like you, follow this step-by-step process for easy ceramic tile painting.
Step 1: Clean the Old Tile
The first step is to clean your existing tile. You want scrub the tiles to make sure that the top layer is completely free of dirt, grime and grease. This is especially important if the tiles are in a high traffic area such as an entryway, hallway or kitchen. An abrasive cleaner such as Comet can help to ensure the cleanest possible tile surface.
Step 2: Dry the Tiles
Use a cloth to make sure the tiles are completely dry. If the room is large, you may also want to bring in fans to help expedite the process. Set fans up in each corner of the room, and don’t forget to open the windows. This will help dry the tiles now and will help minimize the amounts of fumes lingering from the actual painting process in the following steps.
Step 3: Prime the Tiles
Choose an oil-based primer and apply it evenly across the tiles with a long-handled roller. This sort of primer will bond better to the tile and ensure that your paint sticks. Do not use primer that is designed for drywall.
Step 4: Add Second Coat if Needed
Once the primer is dry you can add a second coat. You will only want to do this if the tiles are darker than the new color. The priming process may take a few days so be sure to cover a portion of the primed floor with paper so that you have a path to walk on if the area leads to another room or stairwell.
Step 5: Apply Paint
Select an oil-based pain to apply to the floor. It is important that you do not opt for a latex based paint because it will not bond to the surface. Again, depending on your paint color, this may take multiple coats and numerous days to dry. It is important that the surface is completely dry before adding another coat.
Step 6: Apply Sealer
The final step includes applying a sealer that will help protect the floors from flaking or chipping. While a sealer will not protect against all scratches, dents or damage, it is important for protecting it against everyday wear and tear. Most DIY professionals recommend using urethane, again with multiple coats and time for drying in-between.
While painting your ceramic floors can be a week long or more process, the result is almost always worth it! With the right preparation and following the proper steps, you can enjoy a newly painted flooring in Carrollton that better matches the décor of your home.
Why Choose Us?
More Topics & Ideas